This page shows the adaptations I made to fit the 1991 Mk V Rover Mini Instrument Cluster in the Mini Sport Walnut Dashboard
Mini Sport has a very nice wooden dashboard that I ordered for this project. I am not sure how they designed it, or what instruments they planned on putting in it, but I wanted to put in the cluster that came with my 1991 Rover front clip. I assume there is a cluster from another year that should bolt right in.
First we see the donor car

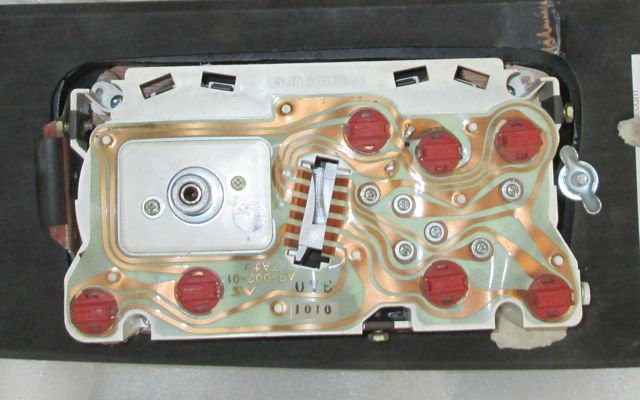
After disassembling and cleaning, we have the parts to fit

The next step was to see what needed to be modified so that they could fit together. This required cutting the turn signal tubes that were longer than the instruments.
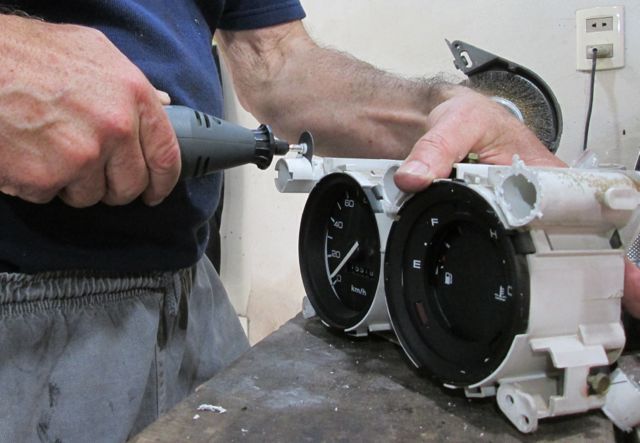
Then I could see that the lenses of the gauges would not fit tightly to the holes, so I ground off the points between the two holes and the excess hot glue that was used at the factory to hole the chrome rings on.
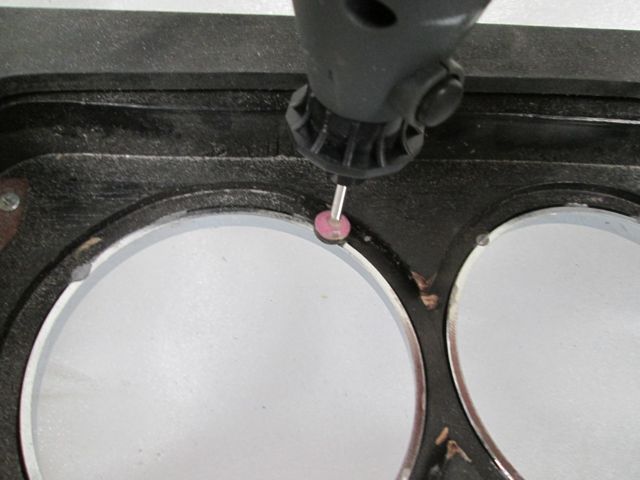
I also found that the turn signal arrows were recessed back under the cut-outs, so I enlarged the openings. Actually they don't quite align, but should have access to the light.
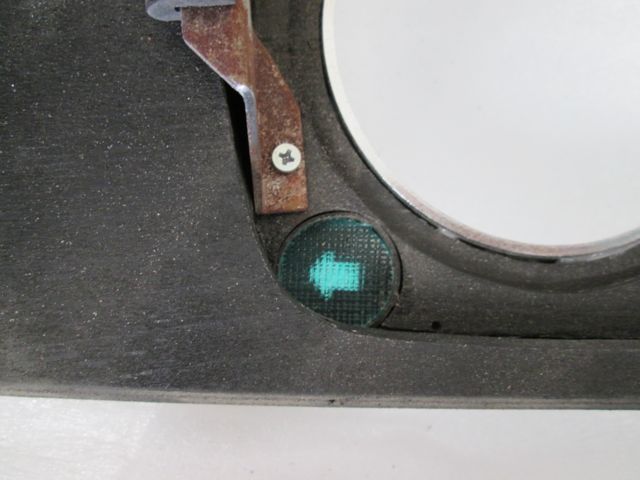
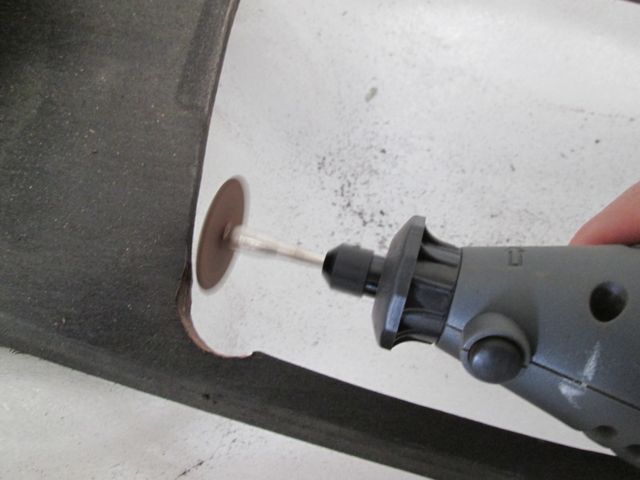
Then with minor adjustments, I fitted the lens from the cluster to the holes and frames. Once the lenses fit tightly, I could put them back on the instruments and deal with the rest of the minor adjustments.
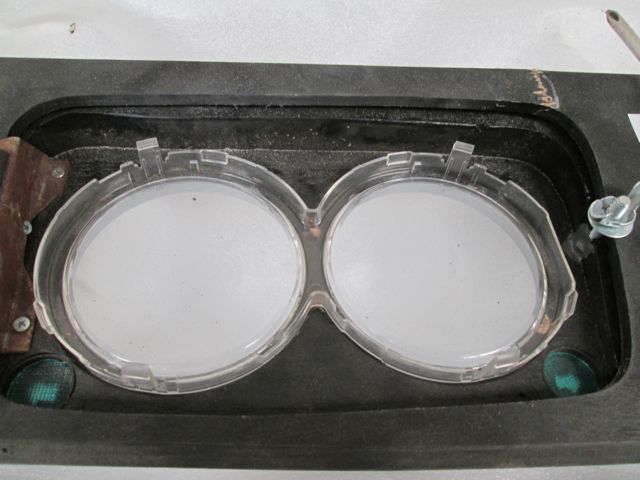
I found the winglets for the screws to be 1/4" above the surface, and since they would be more secure screwed firmly in place, I made shims to fit. These I glued in place and let sit overnight. I put a scrap of 1/4" thick rubber under each clamp on the front side to protect the finish.
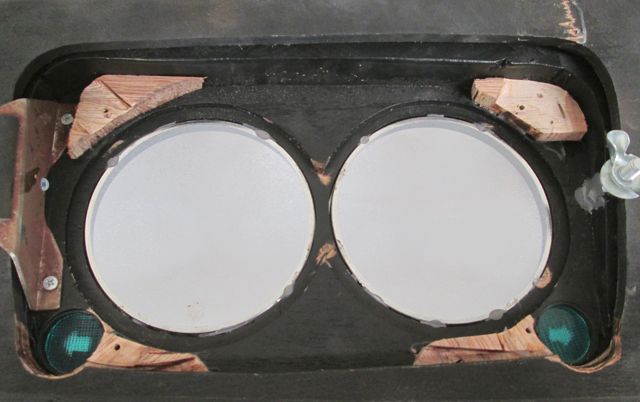
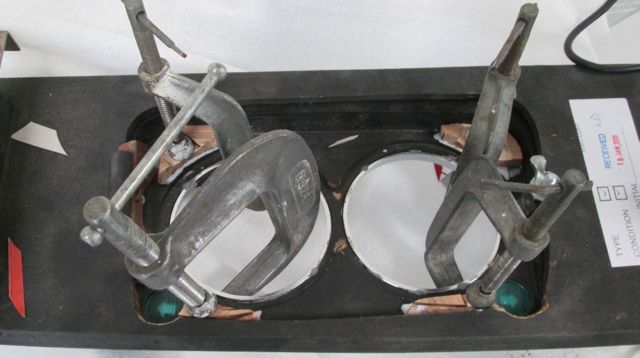
Once the glue was dry, I drilled four 1/8" holes and used four 3/4" screws to hold things together. The remaining step was to keep the turn signal lights in the area of the arrows. Since they don't line up directly, I filled the area around the tubes, without covering the arrow lenses, with rope caulk.
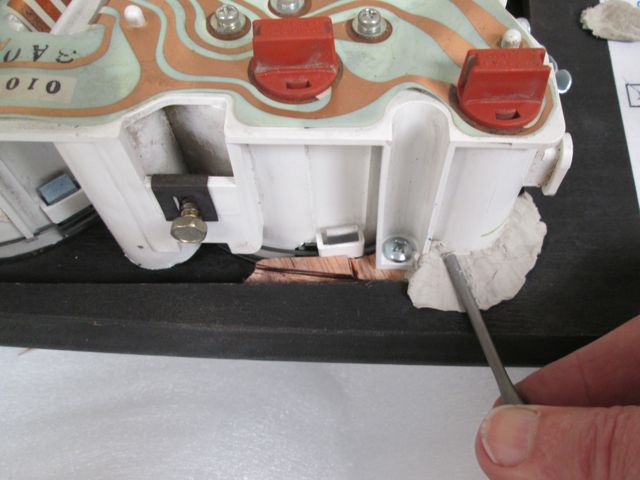
Here is the final product, from the back and the front. On the back you can see some of the screws and the caulking. I used rope caulk because it does not dry nor glue tightly. (I also used that to reassemble the heater.)
The front shows the tachometer, oil pressure gauge and oil temperature gauge, the three things that are not in the original Rover cluster.

You can see the installed dashboard in Month 57
First we see the donor car

After disassembling and cleaning, we have the parts to fit

The next step was to see what needed to be modified so that they could fit together. This required cutting the turn signal tubes that were longer than the instruments.

Then I could see that the lenses of the gauges would not fit tightly to the holes, so I ground off the points between the two holes and the excess hot glue that was used at the factory to hole the chrome rings on.

I also found that the turn signal arrows were recessed back under the cut-outs, so I enlarged the openings. Actually they don't quite align, but should have access to the light.


Then with minor adjustments, I fitted the lens from the cluster to the holes and frames. Once the lenses fit tightly, I could put them back on the instruments and deal with the rest of the minor adjustments.

I found the winglets for the screws to be 1/4" above the surface, and since they would be more secure screwed firmly in place, I made shims to fit. These I glued in place and let sit overnight. I put a scrap of 1/4" thick rubber under each clamp on the front side to protect the finish.


Once the glue was dry, I drilled four 1/8" holes and used four 3/4" screws to hold things together. The remaining step was to keep the turn signal lights in the area of the arrows. Since they don't line up directly, I filled the area around the tubes, without covering the arrow lenses, with rope caulk.

Here is the final product, from the back and the front. On the back you can see some of the screws and the caulking. I used rope caulk because it does not dry nor glue tightly. (I also used that to reassemble the heater.)
The front shows the tachometer, oil pressure gauge and oil temperature gauge, the three things that are not in the original Rover cluster.


You can see the installed dashboard in Month 57